How to convert JPG to PDF on any device
Somebody always wants it as a PDF, and what you have is a phone full of JPGs. Here’s the one-minute fix, plus the order, quality and size details that decide whether the result looks professional.
By the ToolSnappy Team · Updated · 7 min read
The visa form wants a PDF. The landlord wants a PDF. HR, the university portal, the client who prints everything — they all ask for a PDF, and what you actually have is a camera roll full of JPGs. Converting them takes about a minute, costs nothing, and with the right tool your files never leave your device.
The steps below use the JPG to PDF converter on this site, which runs entirely in your browser. After the how-to, we’ll cover the three things people usually get wrong: page order, image quality for print, and file size.
1. Why people convert JPG to PDF at all
A JPG is a picture. A PDF is a document. That sounds like a small difference until you try to send something official:
- Forms and portals often accept PDF only. A JPG upload gets rejected outright — or accepted, then squashed and cropped by whatever system receives it.
- One file, fixed order. A PDF holds all your pages in one file, in the order you chose. Ten JPGs attached to an email arrive as ten separate files the reader has to download and sort out.
- Printing behaves. A PDF prints at the size it shows on screen. A JPG prints at whatever size the app guesses, which is how ID cards come out the size of dinner plates.
- It reads as final. A PDF is awkward to edit by accident, so it carries the “this is the official copy” feeling that a loose photo doesn’t — useful for signed forms, certificates and contracts.
None of this makes JPG a bad format. It’s the right format for photos. PDF is just the right envelope for sending them somewhere that matters.
2. How to convert, step by step
- Open the JPG to PDF tool. No account, nothing to install.
- Add your JPG files — drag them in, or tap to browse. One image or a whole set, both work.
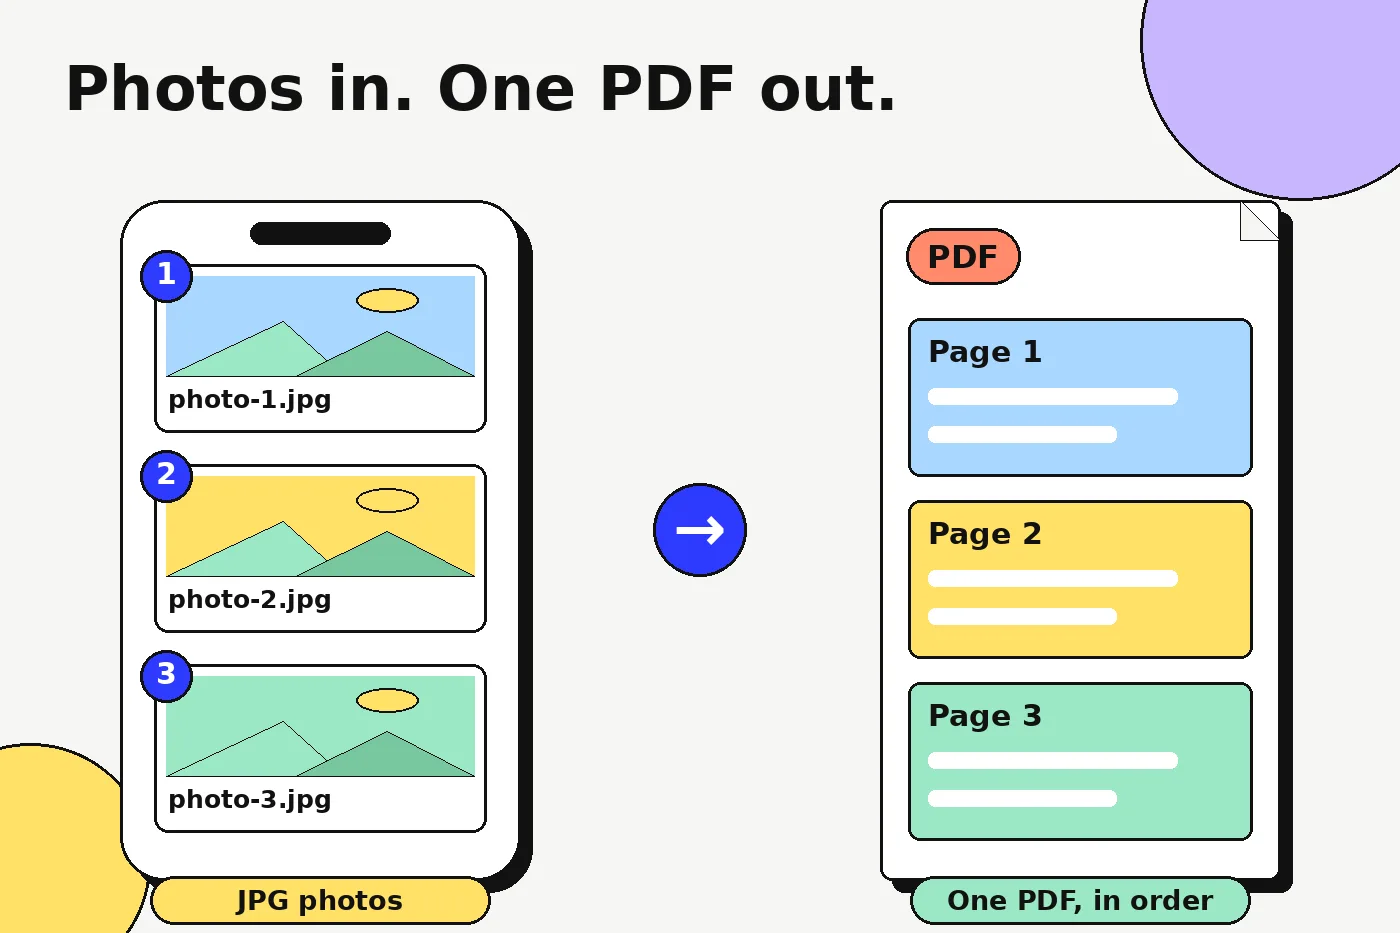
- Drag the images into the order you want the pages to appear (the next section explains why this step deserves ten seconds of care).
- Download the PDF. Each image becomes one page, in the order you set.
On a phone the steps are exactly the same. The tool works in mobile browsers, and the finished PDF lands in your Downloads folder or the Files app, ready to attach wherever it was requested.
3. Get the page order right before you convert
Order is the one thing you can’t fix after the file has been sent, and it’s the mistake reviewers notice first. A two-page application with the pages swapped looks careless even when every page is there. A passport scan that opens on the back of the ID card looks like an error, full stop.
Think about what the reader needs first: the main document, then supporting pages. Signed page last, if the signature page is the end of the document. If you’re adding a lot of files at once, rename them before you start — 01-application, 02-id-front, 03-id-back — and they’ll fall into place in number order in most file pickers.
4. One image per page, or several combined?
The standard conversion puts one image on each page, and that’s what forms, applications and email attachments almost always want: each scan or photo gets its own full page, readable at a glance.
Combining several images onto a single page has its place — a photo sheet for a property listing, a before-and-after pair, a quick visual summary. Just know the trade-off: more images per page means each one prints smaller, and small text on a crowded page is hard work to read.
Two related jobs come up often. If you already have several PDFs and need them joined into one, that’s a different tool: Merge PDF, covered step by step in our guide on how to merge PDF files. And if a form sends you a PDF and asks for images back, you’ll want the reverse trip, covered in section 7.
5. Quality and DPI: print is not screen
Here’s the part that confuses everyone, because “DPI” sounds technical and mostly isn’t. DPI — dots per inch — describes how tightly pixels are packed when printed. What actually decides sharpness is simpler: how many pixels your image has, versus how big it will be printed.
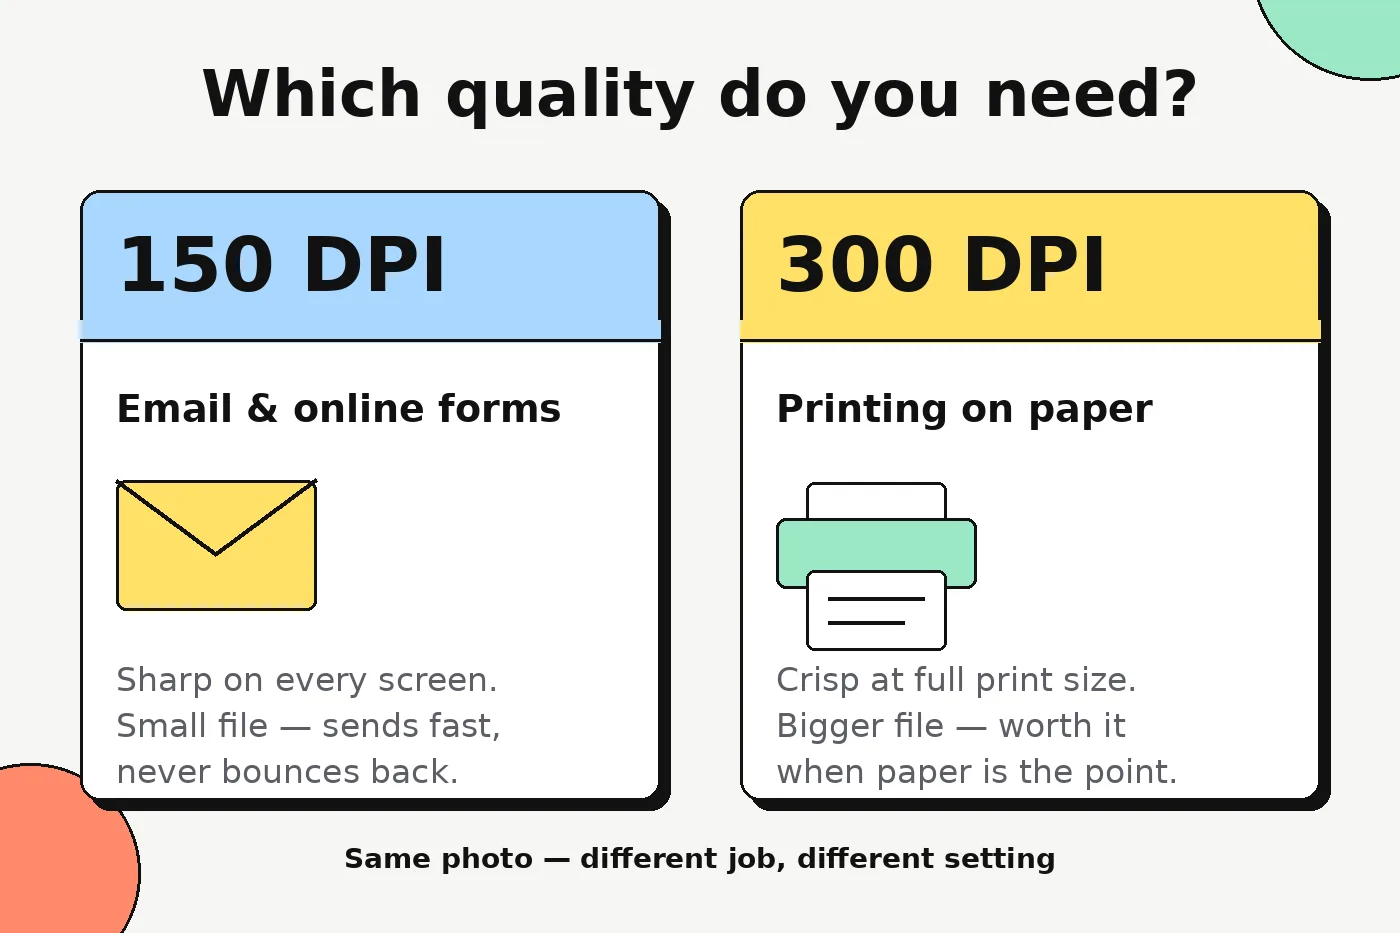
A photo that’s 3,000 pixels wide printed across 10 inches works out to 300 DPI, and looks crisp. The same photo on a screen only needs a fraction of that, which is why screen copies can be much smaller files. Converting to PDF doesn’t add quality, either — a soft, blurry photo stays soft in the PDF. It just gets wrapped in a document.
| Purpose | What to aim for | Why |
|---|---|---|
| Online form or portal upload | Long edge around 1,500–2,000 px | Sharp enough to read every word; stays under most upload size limits. |
| Emailing documents | About 150 DPI is plenty | Screens show no extra detail beyond this, and the file stays small enough to send. |
| Printing at home or a copy shop | 300 DPI at the final print size | Print shows softness a screen hides. A 6 × 4 in photo at 300 DPI needs roughly 1,800 × 1,200 px. |
| Archiving important scans | Convert, but keep the original JPGs too | The PDF is the convenient copy. The originals are your masters if you ever need to reprint. |
6. Keeping the file size sane
A phone photo is often 3–6 MB. Ten of them converted carelessly make a 40 MB PDF, and many email services cap attachments around 20–25 MB — so the file bounces, usually at the worst possible moment, five minutes before a deadline.
- Resize before you convert if the PDF is only for screens. Around 2,000 px on the long edge is more than a form or an inbox will ever display. Our image compressor shrinks photos without a visible difference on screen.
- Skip the 600 DPI scan setting. For text documents, 200–300 DPI looks identical on paper and weighs a fraction as much. Scanner apps default high because it sounds better, not because you need it.
- Convert once. Turning a PDF back into JPGs and then back into a PDF shaves a little quality off the images every round trip. Keep one clean original set and convert from that.
7. The privacy point: no upload needed
Plenty of converter websites work by uploading your files to their servers, converting them there, and letting you download the result. For a birthday photo, fine. For a passport scan, a bank letter or a signed contract, it’s worth pausing on: you’ve just handed a copy of that document to a server you know nothing about.
ToolSnappy works differently. The conversion runs in your browser, on your device, using JavaScript — the file is never uploaded anywhere. You can prove it to yourself the same way readers of our merge guide do: load the JPG to PDF page, turn off Wi-Fi, and convert. It still works, because there’s no server involved. And if you ever need the images back out of a PDF, PDF to JPG does the same job in reverse, also in your browser.
8. Common mistakes worth avoiding
- Converting a screenshot of a document. A screenshot is screen resolution, so the text turns fuzzy the moment anyone prints it. Photograph or scan the document itself instead.
- Sending the order you happened to click in. Files get added in click order, not document order. Arrange them, every time.
- Enormous colour scans of plain text. A 600 DPI colour scan of a one-page letter can run to 20 MB for zero benefit. Greyscale at 200 DPI reads exactly the same.
- One PDF per page. If the form asked for one file, give it one file — add all the images in a single conversion rather than sending six separate PDFs.
- A filename that says nothing. “scan-final2.pdf” tells the reader nothing and gets lost in their downloads. Name it after the contents: passport-scan.pdf, tenancy-application.pdf.
Frequently asked questions
Is it really free to convert JPG to PDF here?
Yes. No account, no watermark, no page limit set by us, and nothing to install. The tool runs in your browser, which is also why there’s nothing to charge you for on our side.
Will converting reduce the quality of my images?
It shouldn’t. Converting wraps your images into pages; quality only drops if a tool resizes or heavily recompresses them along the way. Zoom into the finished PDF at 100% and compare a page with the original — for documents and photos at the sizes in the table above, you shouldn’t see a difference.
Can I convert JPG to PDF on my phone without installing an app?
Yes. Open the JPG to PDF tool in your phone’s browser, add the photos from your camera roll or files, arrange them and download. The PDF saves to your Downloads or Files app, ready to attach to the form or email that asked for it.
How do I turn a PDF back into JPG images?
Use the PDF to JPG tool on this site. It converts each page of a PDF into its own JPG image, in your browser, the same way the JPG to PDF tool works in reverse.
Sources
- Adobe Acrobat online: JPG to PDF converter
- Apple Support: Combine PDFs in Preview on Mac
- PDF Association — the home of PDF technology
This guide is for general information and isn’t financial, tax, legal or medical advice. Figures were checked against the sources above on the date shown.